CNC Inspection Checklist: 7 Critical Steps Before Final Acceptance

This guide provides a step-by-step CNC inspection checklist to verify part dimensions, surface finish, and material integrity. It helps buyers and engineers catch critical errors before final acceptance.
- Final acceptance requires verifying dimensions, surface finish, and material integrity before release.
- Documented inspections create a traceable quality record and reduce costly rework.
- Red flags like visible burrs, inconsistent finish, or missing documentation often indicate process failure.
Why Final Inspection Matters
In CNC machining, the difference between a usable part and a rejected one often lies in the final verification step. A part may look perfect to the naked eye but still fail to meet tight tolerance requirements. This is where a structured inspection process becomes essential.
This CNC inspection checklist provides a practical framework for buyers and engineers to verify that final parts meet specifications. It covers the critical steps needed to ensure quality control before acceptance.
Step 1: Review Documentation
Before touching a part, review all supporting documents. This includes the original drawing, revision history, material certification, and any special instructions.
Checklist:
- Confirm the drawing revision matches the part serial number.
- Verify the material grade matches the purchase order.
- Check for any special coatings or heat treatment requirements.
Red Flags:
- Missing material test reports.
- Drawing revisions that do not match the part number.
- Ambiguous tolerance notes or unclear GD&T symbols.
Step 2: Visual Inspection
A visual inspection is the fastest way to catch obvious defects. Look for surface imperfections, tool marks, and any signs of improper handling.
Checklist:
- Inspect all visible surfaces for scratches or gouges.
- Check for excessive tool marks or chatter marks.
- Look for burrs on edges and corners.
Red Flags:
- Deep scratches that go through the surface finish.
- Chatter marks indicating machine instability.
- Sharp burrs that could cause safety hazards.
Step 3: Dimensional Verification
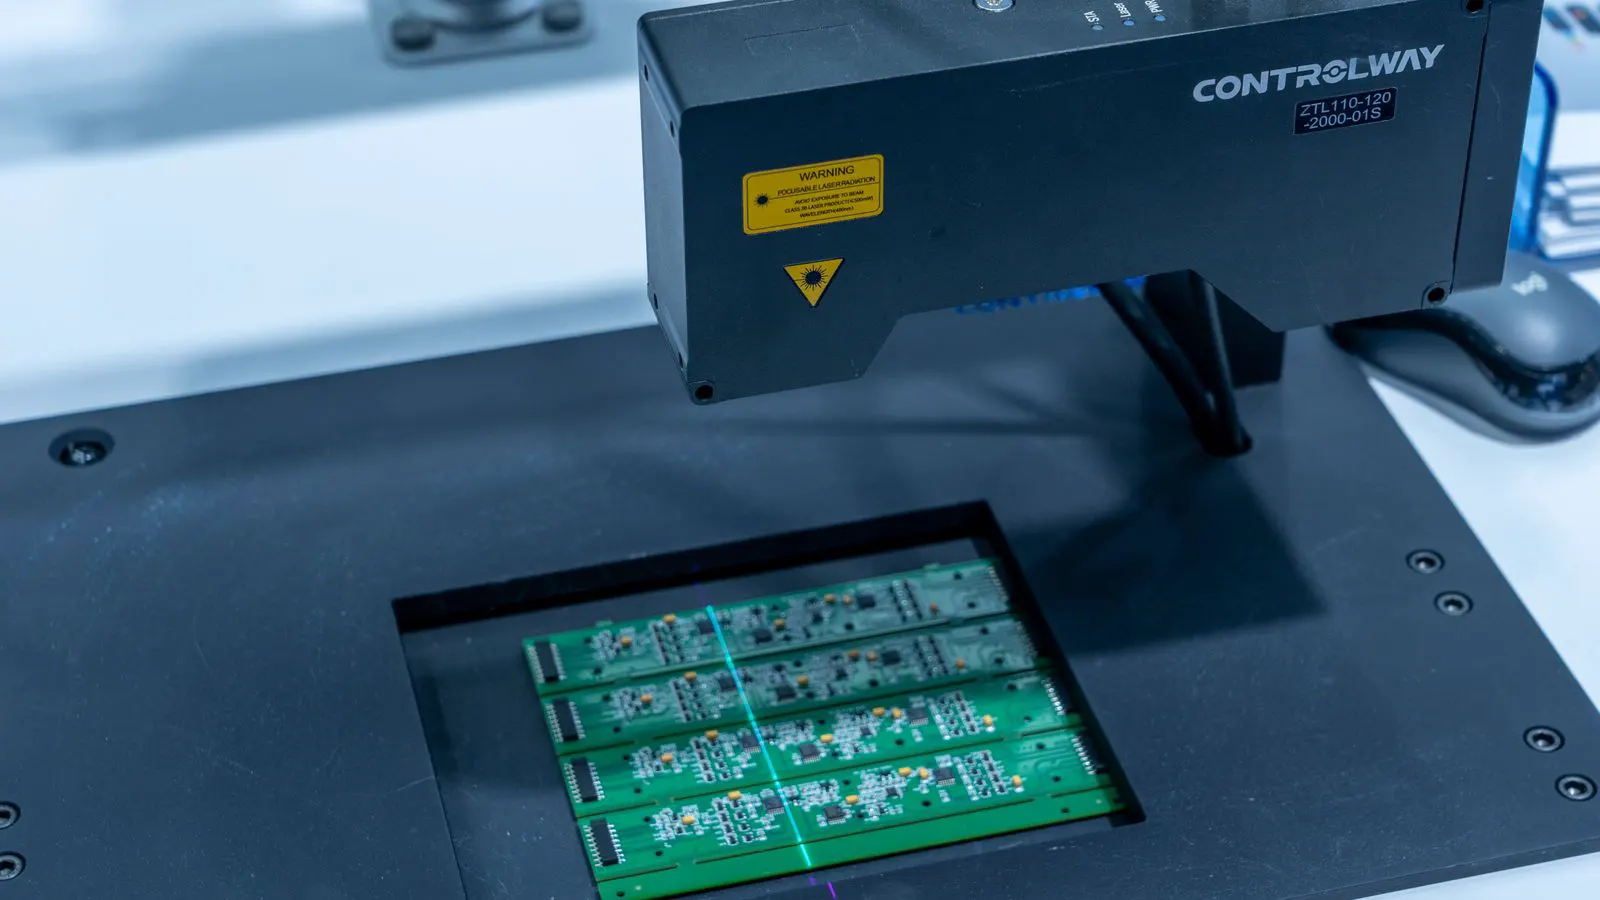
This is the core of any CNC inspection. You must verify that all critical dimensions fall within the specified tolerances. Use the appropriate measuring tools for each dimension type.
Checklist:
- Measure all critical dimensions against the drawing.
- Verify hole positions and spacing.
- Check flatness and squareness of key surfaces.
Red Flags:
- Consistent deviation from nominal dimensions.
- Out-of-tolerance critical features.
- Uneven wear patterns that suggest tooling issues.
Step 4: Surface Finish Assessment
Surface finish affects not only aesthetics but also functionality. Poor finish can lead to wear, corrosion, or assembly issues.
Checklist:
- Compare surface finish to the specified Ra or Rz value.
- Check for consistent finish across all machined surfaces.
- Inspect threads for smoothness and proper engagement.
Red Flags:
- Visible tool marks that exceed the specified finish.
- Inconsistent finish between different surfaces.
- Rough threads that do not engage smoothly.
Step 5: Material Integrity Check
Verify that the material itself meets specifications. This is especially important for safety-critical parts or those used in high-stress applications.
Checklist:
- Check material certification documents.
- Verify heat treatment specifications if applicable.
- Inspect for cracks or inclusions if required.
Red Flags:
- Material grade does not match the requirement.
- Missing heat treatment records.
- Visible cracks or inclusions in the material.
Step 6: Functional Testing
If applicable, perform functional tests to ensure the part works as intended. This may include fit checks, pressure tests, or operational tests.
Checklist:
- Test fit with mating components.
- Perform any required pressure or load tests.
- Verify electrical or hydraulic connections if applicable.
Red Flags:
- Parts do not fit together properly.
- Failure under load or pressure.
- Electrical shorts or hydraulic leaks.
Step 7: Final Documentation and Release
The final step is to document the inspection results and release the part for acceptance. This creates a traceable quality record.
Checklist:
- Complete the inspection report.
- Sign off on the quality certificate.
- Store inspection records with the part documentation.
Red Flags:
- Incomplete inspection reports.
- Unsigned quality certificates.
- Missing inspection records.
Inspection Table: Key Parameters
| Parameter | Typical Tool | Criticality |
|---|---|---|
| Linear Dimensions | Calipers, Micrometers | High |
| Hole Positions | Pin Gauges, CMM | High |
| Surface Finish | Surface Roughness Tester | Medium |
| Flatness | Dial Indicator, Flatness Gauge | Medium |
| Material Grade | Material Test Report | High |
| Thread Engagement | Thread Gauge | High |
Common Mistakes to Avoid
Many buyers skip the documentation review step, assuming the part is correct because it looks good. This is a dangerous assumption. Always verify that the part you are inspecting is the correct revision of the correct drawing.
Another common mistake is relying on a single measurement. Always take multiple measurements across different locations to ensure consistency. A part may measure correctly at one point but out of tolerance at another.
Finally, do not skip the functional test. A part can meet all dimensional specifications and still fail to function properly in its intended application.
When to Use a Third-Party Inspector
For high-value or safety-critical parts, consider using a third-party inspector. They bring independent expertise and can provide an objective assessment. This is especially valuable when you are new to a supplier or when the stakes are high.
A third-party inspector can also help identify issues that in-house teams might miss due to familiarity bias. They bring fresh eyes to the inspection process.
Conclusion
A thorough CNC inspection checklist is not optional; it is essential. By following these seven steps, you can significantly reduce the risk of accepting defective parts. The process takes time, but the cost of catching a defect early is far less than the cost of dealing with a failure in the field.
Use this checklist as a baseline and adapt it to your specific requirements. The more you document and verify, the more confident you can be in the quality of your parts.
Frequently asked questions
How often should I inspect CNC machined parts?
For production runs, inspect a sample size based on the criticality of the part. For prototype or one-off parts, full inspection is recommended.
What is the difference between first-article inspection and final inspection?
First-article inspection verifies the first part made to ensure the process is set up correctly. Final inspection verifies the last part or sample to ensure the process remained stable.
Can I skip visual inspection if I have CMM data?
No. CMM data verifies dimensions but not surface finish, burrs, or other cosmetic defects. A visual inspection is always necessary.
How do I know if my measuring tools are calibrated?
Check the calibration stickers or certificates. Tools should be calibrated at regular intervals, typically annually or after any significant impact.
What should I do if a part fails inspection?
Document the failure, quarantine the part, and notify the supplier. Determine if the failure is isolated or systemic before deciding on the next step.